An LED strip retrofit kit can upgrade an existing fluorescent strip fixture while retaining a compatible housing. Start by identifying the housings on site. A nominal fixture length can narrow the search, but the mounting profile and space for the kit components determine whether a particular kit will fit.
Document each housing you intend to keep
Group the existing fixtures by manufacturer and model where the labels are legible. Have the project electrician record channel length, width and usable depth, plus the location of mounting points, wiring entry and obstructions. Include a photo of the housing profile and a dimensioned view with the cover removed by qualified personnel. Sample each visibly different fixture type. Earlier repairs may have left several housing designs in a single row.
Compare the kit drawing with the actual channel
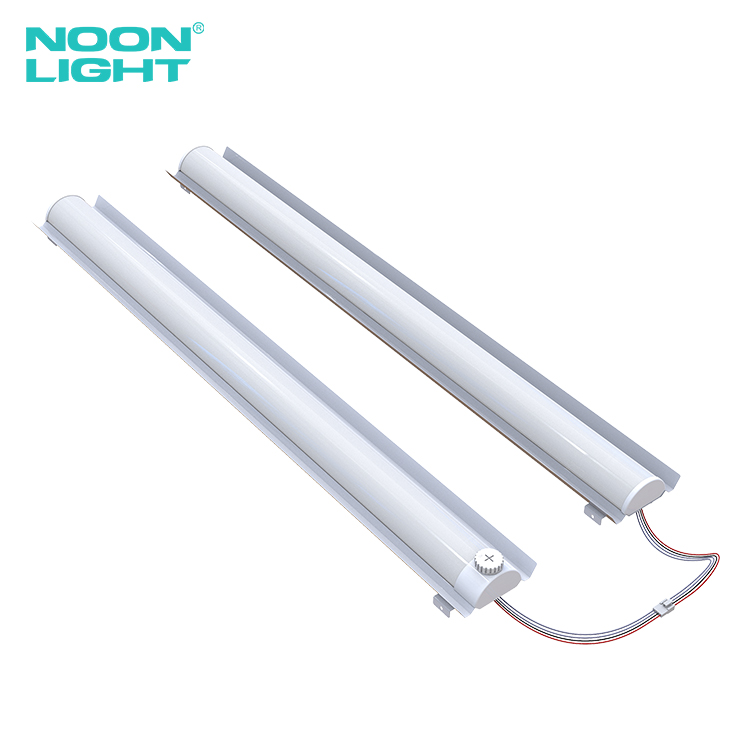
Ask the supplier for the kit drawing, mounting details and the space it requires for the driver and connectors. Compare those details with the channel profile and check that the lens or cover can seat as intended. Also verify the kit instructions and any restrictions for the specific host fixture with the installer. Bent channels, corrosion, loose mounting points or other damage can make a housing unsuitable to retain. Compare a complete LED linear strip fixture for those locations.
Trial-fit the kit before ordering the full quantity
Use one sample for each housing type the supplier has identified as compatible. Have the installer verify that the kit seats securely, the cover closes, the wiring compartment remains accessible and the finished fixture fits the site conditions. Record the accepted kit and host-housing combination with photos. If an area has mixed housings, count how many take each kit and how many need complete fixtures before finalizing quantities.
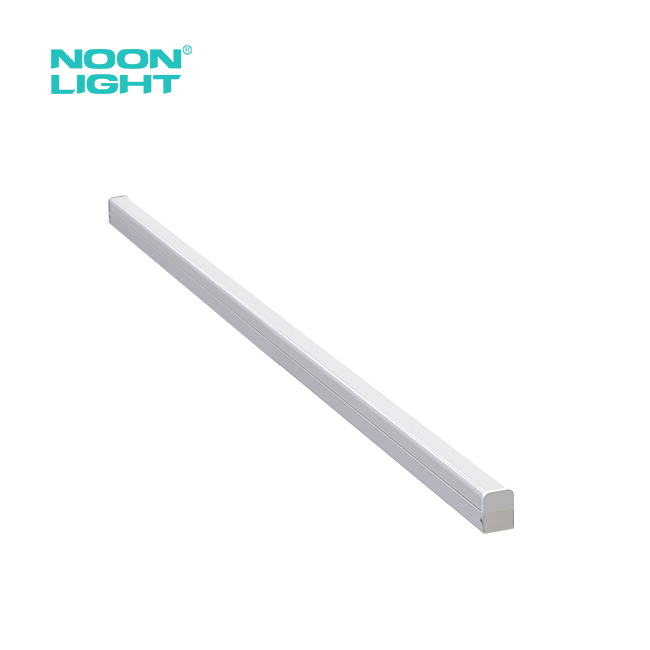
See Noon Lighting’s LED strip retrofit options. Send your housing photos, measured profile and fixture counts to start a fit review.

 EN



 Hot News